
Air Filter Installation, Care & Warranty
Thank you for choosing SCHÖRL. This air filter installation and care guide takes a few minutes to follow. It helps make sure your new filter seals properly and your warranty stays valid.
- Before installation (5 checks)
- During installation (3 checks)
- After installation (motorcycle and car)
- Washing instructions
- Warranty
- Need help?
Before air filter installation
Step 1: Check the product and box
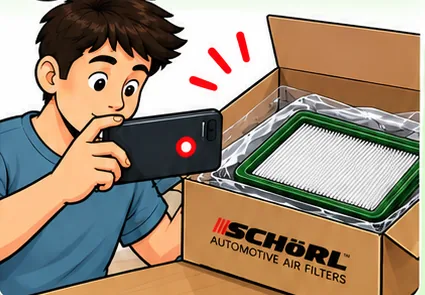
When your SCHÖRL filter arrives, check that the box and the filter are not damaged or deformed.
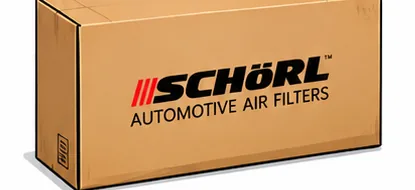
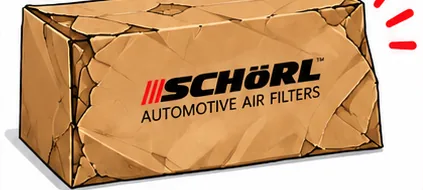
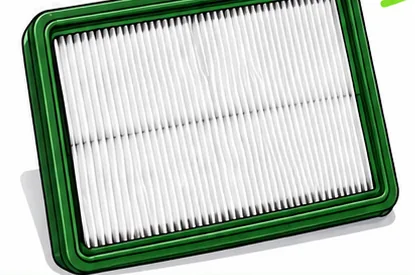
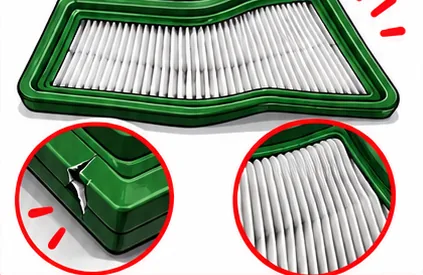
If the box or filter is damaged:
- Record an unboxing video while you open the package.
- Report the damage within 48 hours of delivery, with the video, and contact SCHÖRL for a replacement on WhatsApp or email.
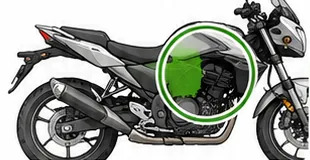
Step 2: Locate the airbox and check the fasteners
The airbox is the housing where the air filter fits. Find it on your vehicle and check that all its fasteners (screws, clips and other fasteners) are intact and not damaged.
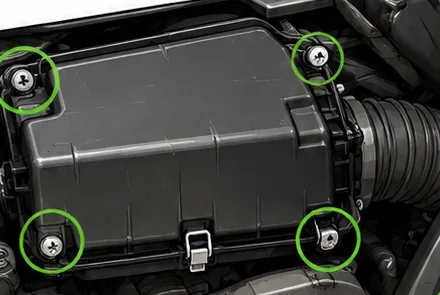
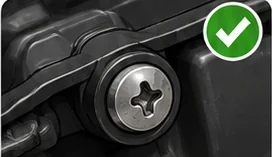
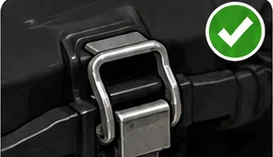
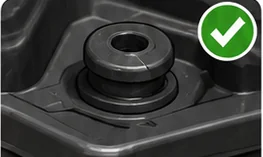
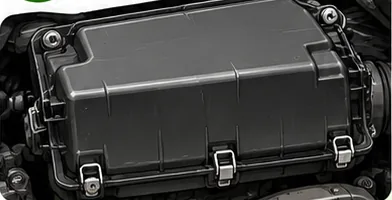
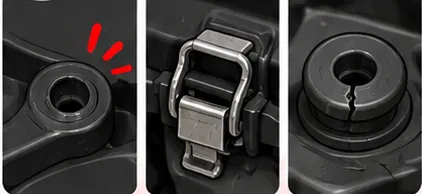
If any fastener is missing or damaged, talk to your mechanic and get it fixed before installing the filter.
Step 3: Check the clean side of the airbox
The airbox has a dirty side (where outside air comes in) and a clean side (which leads to the engine). Open the airbox and check the clean side for dust.
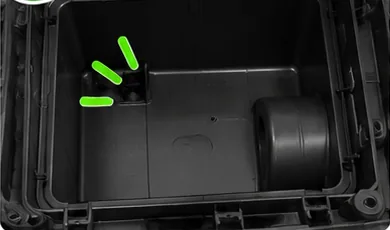
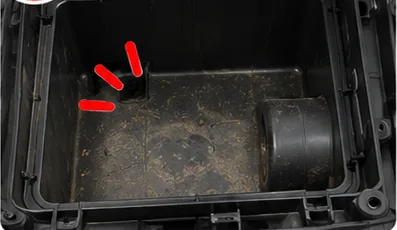
Dust on the clean side means your stock air filter has a sealing issue. Talk to your mechanic and get it fixed before installing the SCHÖRL filter.
Step 4: Clean the engine intake side of the airbox
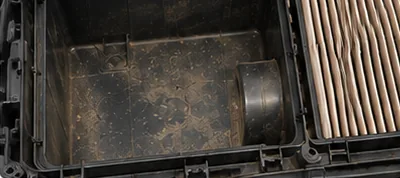
Always wipe the clean (engine intake) side of the airbox before fitting the filter, even if it already looks clean. If you found a sealing issue in Step 3, get it fixed first.

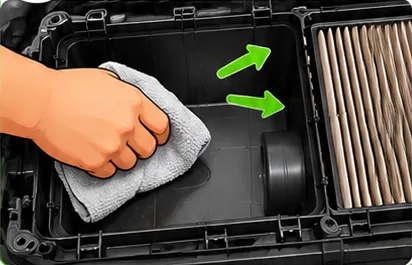
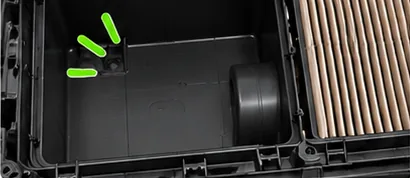
Do not:
- use harsh chemicals
- use rough brushes
- soak the airbox or pour water inside
Step 5: Additional checks: airbox, ducts and vehicle condition
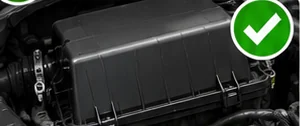
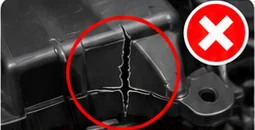
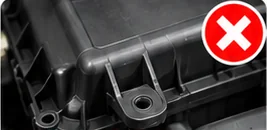
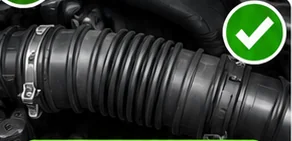
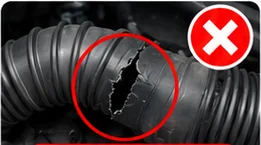
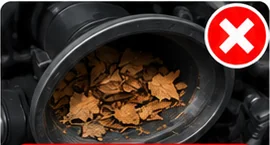
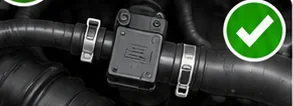
Make sure everything around the airbox is in good shape. In each picture, the first image is OK and the others are problems to fix first.
1. Airbox condition
2. Air intake duct / snorkel
3. Hoses, sensors and connections (if applicable)
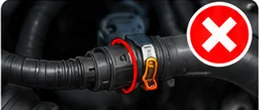
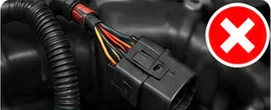
4. Vehicle condition
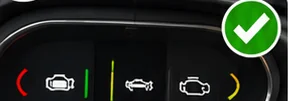
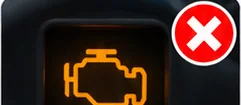
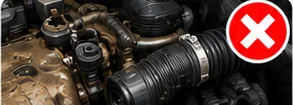
All good? If the airbox, ducts and vehicle are all OK, you can now install the SCHÖRL filter.
During air filter installation
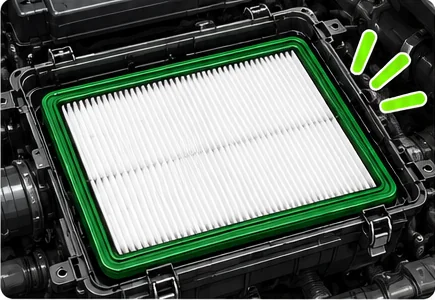
1. Check for gaps after placing the filter
After placing the filter in the airbox, check that there are no gaps where air can go around the filter into the engine.
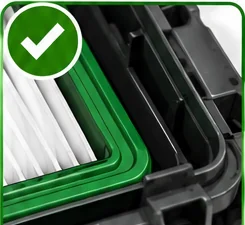
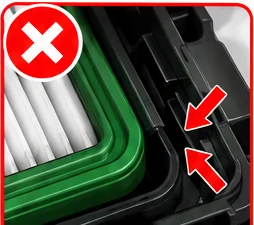
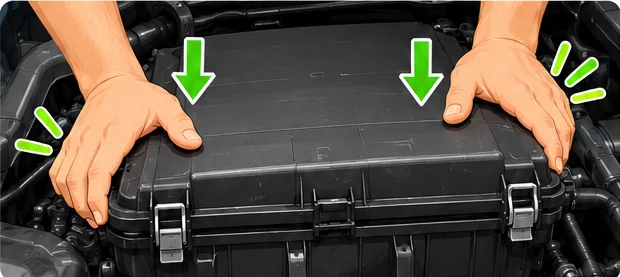
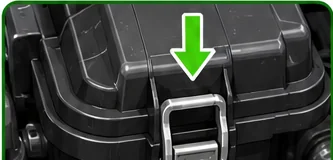
2. Press the airbox lid into the fastener positions
When you put the lid back, you may need to press it down into the fastener positions before locking the fasteners. This makes sure it seals properly.
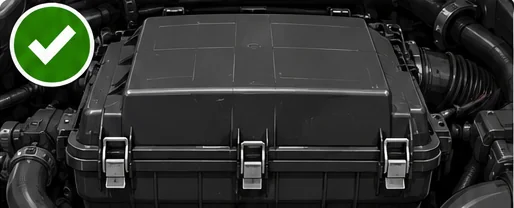
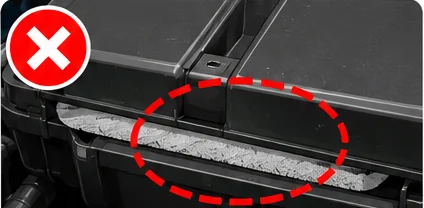
3. Check that the filter is not coming out
After the lid is fastened, check that no part of the filter is sticking out of the airbox.
After installation: let the vehicle adapt
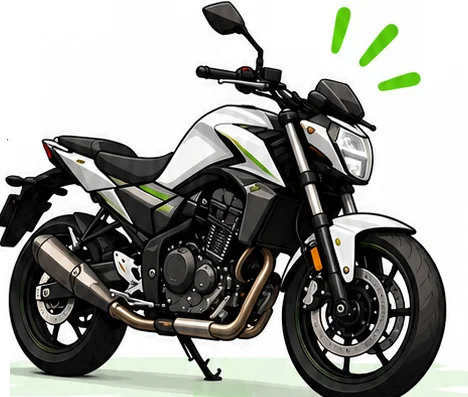
Motorcycle
- Let the engine idle for approximately 30 minutes before riding.
- After idling, ride normally. The ECU can continue adapting as the engine runs across different RPMs and loads.

Car
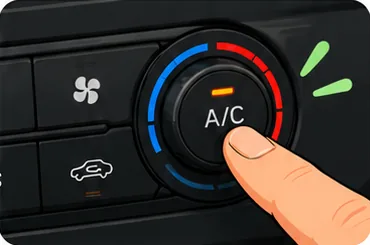
- Switch ON the AC at your normal summer setting (temperature and fan speed).
- Let the engine idle for approximately 30 minutes with the AC ON.
- After idling, drive normally. The ECU can continue adapting as the engine runs under different driving conditions and loads.

Important note: Adaptation behaviour varies by vehicle and ECU. Follow the vehicle manufacturer’s specific procedure where applicable.
Washing instructions
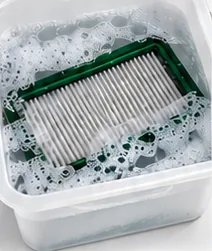
- Soak the filter in detergent water for 30 minutes.
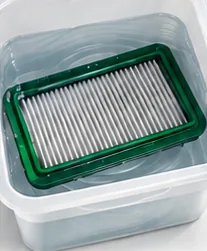
- Soak it in clear water for 10 minutes.
- Dip and swirl it in a fresh tub of clean water.
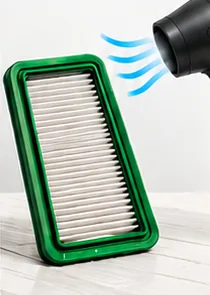
- Leave it to dry. To dry faster, you may use a hair dryer without heat.
The filter must be completely dry before you fit it back in the vehicle.
- Wash every 8,000–10,000 km, depending on usage conditions.
- The filter can be washed a maximum of 12 times.
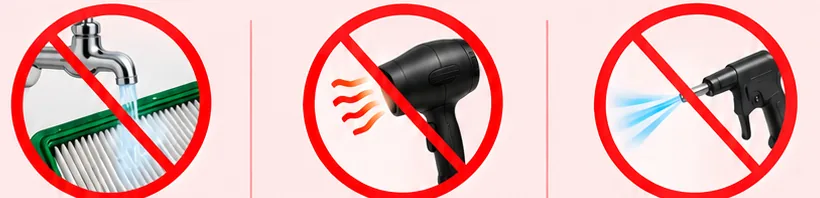
Do not:
- rinse the filter under running water
- use hot air to dry the filter
- use compressed air to clean the filter
Warranty

Non-commercial 2-wheelers and 4-wheelers
1 year warranty.

Commercial 4-wheelers, LCVs and HCVs
1 year or 1 lakh km (1,00,000 km), whichever is earlier.
- The warranty period starts on the date your order is delivered.
- It covers defects in craftsmanship and damage to the filter media during normal use. If this happens, we replace the whole filter.
- It does not cover deliberate damage.
- Damage in transit must be reported within 48 hours of delivery, with an unboxing video.
- To claim, send us your order number and clear photos of the damage on WhatsApp or email.
- You pay the cost of sending the filter back to us. We pay the cost of shipping the replacement to you.
Need help?
We handle support on WhatsApp and email only (no phone calls).
WhatsApp: +91 90117 77275
Email: schorlfilters@gmail.com